

DIY: How to Replace Burners on a Gas Grill
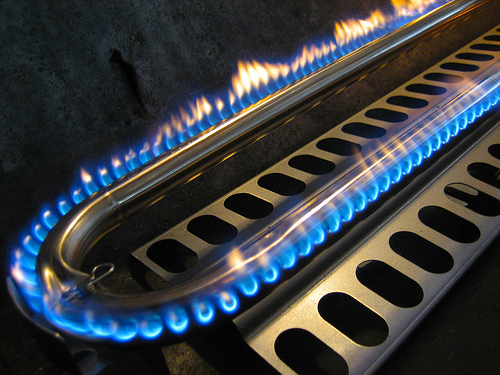
Flickr / Lantzilla
No matter what brand gas grill you have eventually you will have to replace the burner. Fortunately finding burners and other gas grill accessories isn’t difficult. They can usually be found at any store selling grilling accessories. It’s easier and cheaper to buy grill accessories online. Using your computer makes it easy to find high quality gas grill accessories at a good price.
Once you have purchased the right BBQ grill accessories you are ready to begin taking out the old burner and installing the new one. The process is relatively simple. It does not require any special training or expensive tools. All you need is a well lit area, an adjustable wrench and the ability to follow simple instructions. It is also important you do not rush. You are working with gas so there is an element of danger. But the average person can safely replace the burner on their gas grill in a few minutes with no trouble at all.
The first step is to turn off the gas leading to the grill. This has to be done at the connection between the grill and the main gas line. For the average gas grill all the person installing the replacement burner has to do is locate the LP tank’s nozzle and close it. Normally this can be done by simply pushing a lever. Check your owner’s manual if you are not sure where the nozzle and the lever used to close it is located. If the lever is rusted or otherwise difficult to turn you may have to place it as well.
Once you have located the LP’s tank nozzle and turned off the gas, the next step is to make sure there is no gas in the system. Sometimes working to remove the burner may create a spark so making sure there is no gas in the line is very important. To do this vent the any additional gas in the lines by simply turning on one of the other burners on the gas grill for a few minutes and allowing the gas to leak out. While you are waiting for the gas to leak out you can use the time to carefully take of the grill grating.
Once the gas has been vented out of the line and the grill grating has been removed you are now ready to locate the nut that holds the burner in place. You can do this by tracing the main gas line on the grill. The burner is usually held in place by a brass nut. Depending on the model gas grill you have you may need to lift the grill slightly to find the nut. Lifting the grill will also make it easier for you gain access to the nut. Once you have located the nut you are ready to begin the process of removing it.
For the next step you will need to use your adjustable wrench. Generally the brass nut is on fairly tightly. Place the adjustable wrench on the brass nut and turn it to the left or counter clockwise. You may need to apply a fair amount of pressure to get it to begin to loosen. Continue to turn the nut until it comes all the way off. Once you have removed the nut taking off the burner should be easy. Simply pull upward. Within seconds the burner should release itself from the gas line. You have now reached the halfway point. You can take a few seconds to see if the burner is indeed clogged or damaged.
Next place the new burner on top of the gas line and replace the brass nut. Carefully turn it to the right (clockwise) to make sure the threads on the brass nut are properly aligned with the threads on the gas line. You will know the threads are properly aligned and not cross threaded if the brass nut turns easily. Continue to tighten it with the adjustable wrench until the nuts can no longer move.
Next turn the gas on. Listen to see if any gas is leaking out. You should be able to smell any leaking gas. If there is no leak the job is done.
Article Source: http://EzineArticles.com/?expert=Apryl_K_Padron
http://EzineArticles.com/?DIY:-How-to-Replace-Burners-on-a-Gas-Grill&id=7426878