 There are hundreds of ways to cook a steak. Most BBQ aficionados and backyarders keep it simple. Fire up high heat and sear the beef and hope the middle is still good. The traditional thought is that the initial sear “Locks in juices.” The reality is the sear will not lock in anything… it’s kind of BS… in fact we’ve all seen a seared steak still pool with juices.
But the fast sear is fine for most – honestly I could eat a steak no matter if you cooked it in a crock pot… even when it’s bad – it’s still pretty good….but lately there has been talk of a reverse sear method. Here’s the deal:
It’s basically the opposite of that fast sear and bake. In this case you START the steak off low and slow – between 250 and 300 on indirect heat. You grill until the internal temperature reaches a temperature that is about ten degrees BELOW your final desired internal temp.
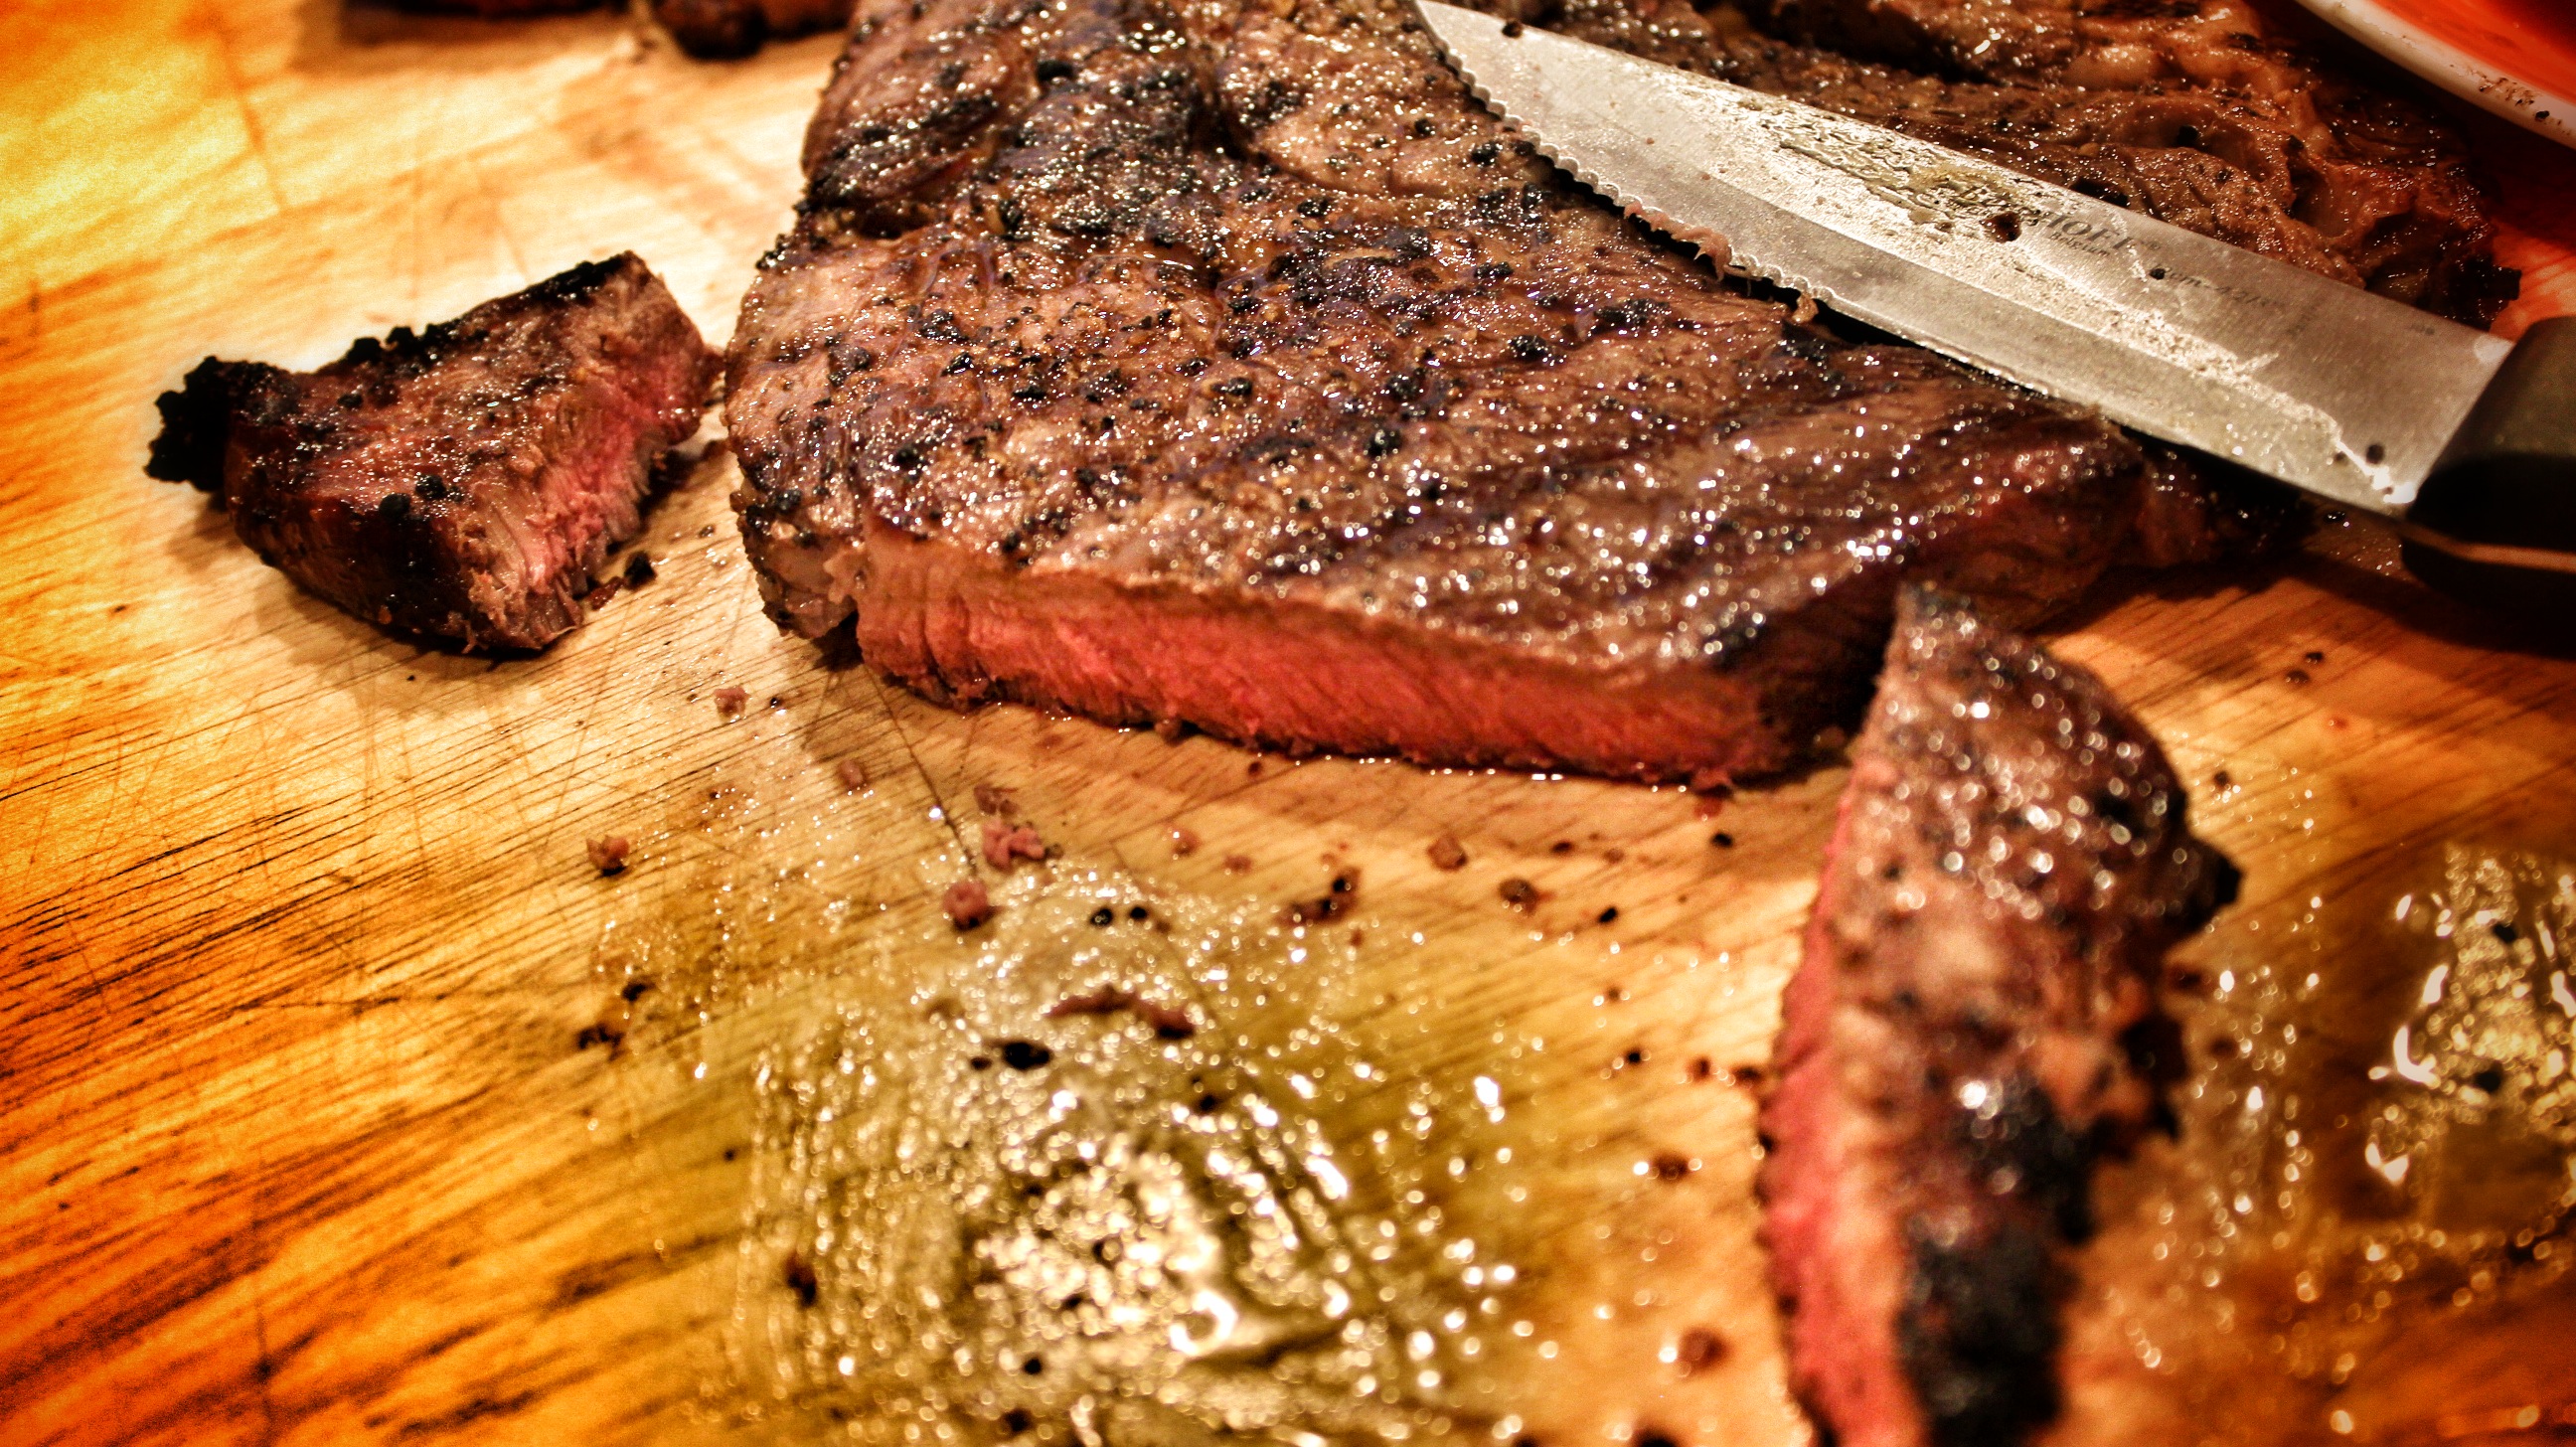
 If you want it around 150 degrees Medium -( USDA may differ) target 140 with a quick read thermometer. Then pull it off the heat for a few minutes until it just starts to drop below 140. That’s your cue to fire up the high heat or searing burner as you see here and blast ut on both sides to achieve the charred caramelization and crust. Pull and enjoy.
Some xperts say the low and slow reverse sear method gives you a more tender steak allowing natural anzymes some additional time to do some magic. Most say it wont affect flavor all that much – but I believe you do end up with a better char and crust.
For traditional flavor use a Canadian or Montreal style spice like the one below.
For best results season 10 to 15 minutes prior to grilling.
Ingredients
- 2 tablespoons fresh ground black Pepper (grind it please)
- 1 tablespoon sweet paprika
- 2 tablespoons coarse ground sea salt
- 1 tablespoon fresh dehydrated garlic
- 1 tablespoon granulated onion
- 1 tablespoon ground corander
- 1 tablespoon dill seeds
- 1 tablespoon crushed red pepper flakes
Instructions
- Also known as Montreal Steak spice or seasoning this combination of coarse garlic, salt, and pepper is the perfect blend to compliment the best cuts of beef.
