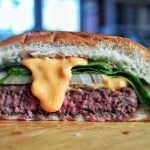
 This week GrateTV goes all patriotic on us and salutes the Oval office with a round sandwich. Enjoy the holiday and subscribe on iTunes and all the feeds at http://GrateTV.com
hamburger
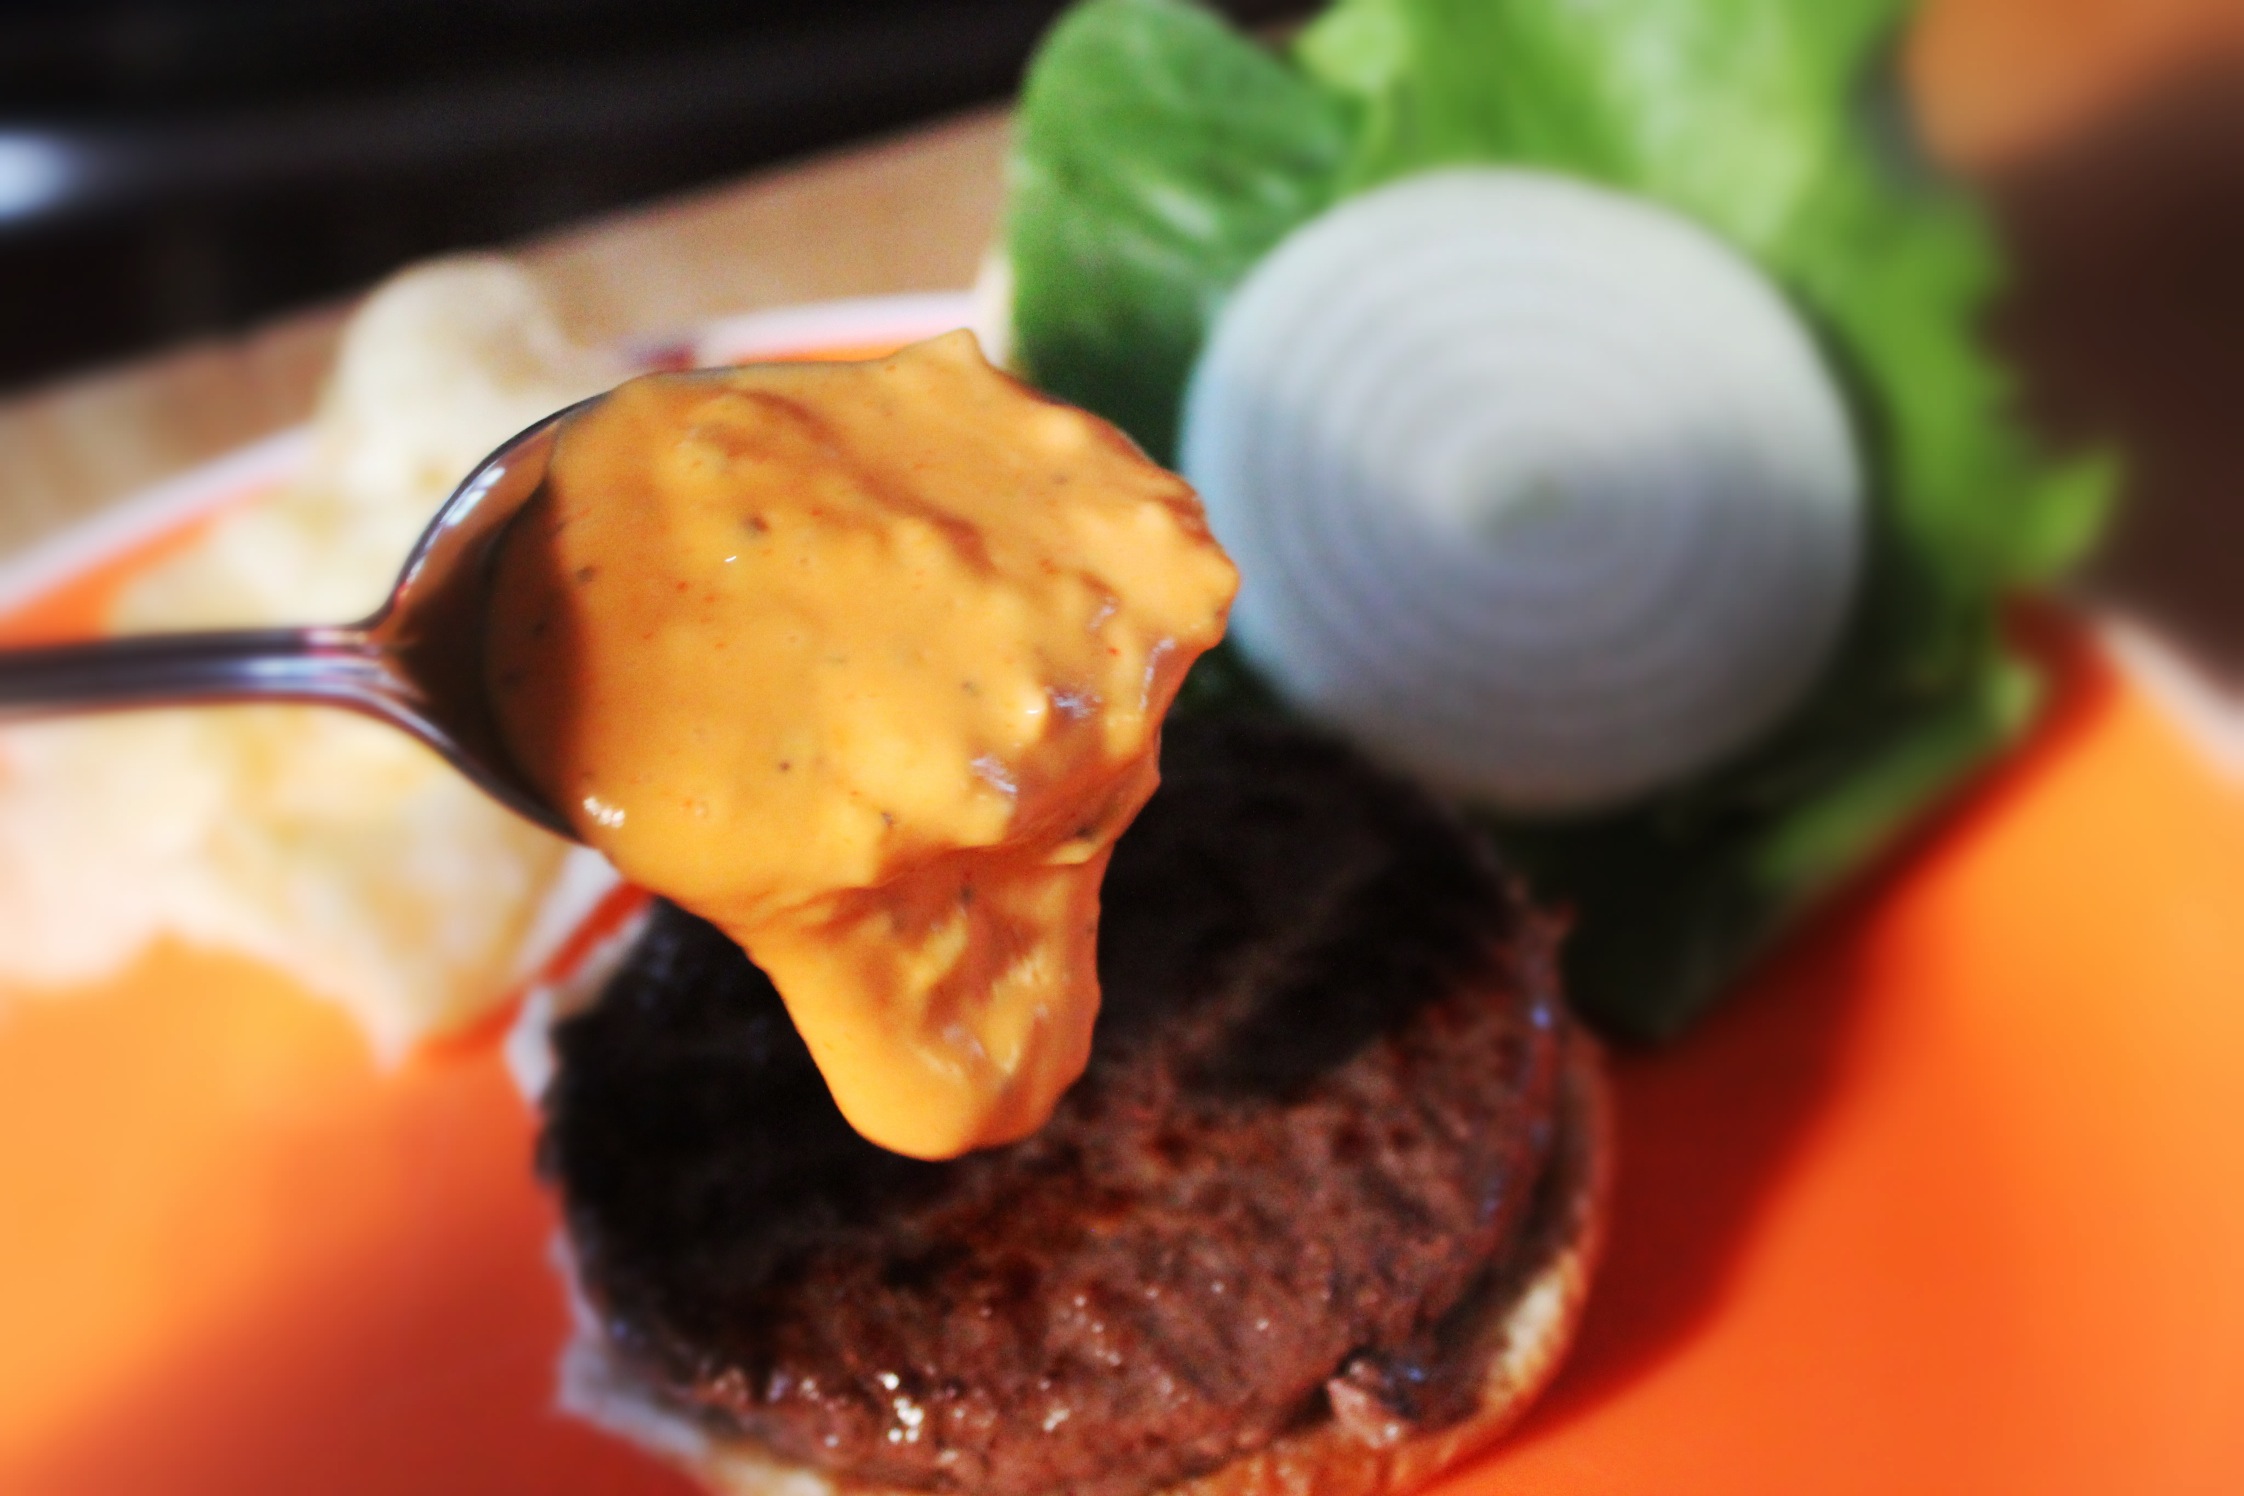
Special Sauce For Burgers – McDonalds Recipe Cracked
Everybody can recite the recipe of McDonald’s Flagship burger the Big Mac.
“TwoAllBeefPattiesSpecialSauceLettuceCheesePicklesOnionsOnASesameSeedBun.”
But what about that “special sauce” recipe?
I don’t have any connections at the golden arches… but I did eat a BigMac today and then I jumped on the internet to find the closest knock off I could find.
There are a bunch of options but this one seemed the closest. After mixing up
a dozen different BBQ sauces this week this sauce stands out as something… well special. It was a real treat on a homemade burger.
But after 12.50 in ingredients maybe I should have just gone to McDonalds. Still, give this McDonalds Special Sauce Recipe Knockoff a try.
It rocks.
This Micky D's Knockoff nails the taste of the real thing.
Ingredients
- 1/4 Cup Real Mayo
- 1/4 Cup Miracle Whip
- 3 Tablespoons Creamy French salad dressing
- 1/2 Tablespoon Sweet Pickle Relish
- 1 and 1/2 Tablespoon Dill Pickle Relish
- 1 Teaspoon Whit Sugar
- 1 Teaspoon Dried Minced Onion
- 1 Teaspoon Distilled White Vinegar
- 1 Teaspoon Ketchup
- 1 Dash of Salt
Instructions
- Combine all ingredients in a plastic microwave safe bowl and mix
- Microwave for 30 seconds
- Mix again
- Refrigerate until serving
Grinding Meat at Home – Burger Tricks and Tips
 How To Make Burger With A Grinder
By Matt LeClair
Thinking about making your own beef, venison, pork, turkey, or chicken burger? One way that you can do it is with a meat grinder. The process of making your own burger with a grinder is actually pretty simple. Here are the steps:
Prepare The Meat
The first step involved in the process of making burger with a grinder is preparing the meat. In most cases you’ll start out with a large chunk of whatever type of meat it is that you are grinding. You need to cut this large piece of meat into small 1 inch by 1inch cubes. If you prefer, you can make the cubes a bit larger to save time since this step can be quite time consuming.
Large pieces of meat have to be cut into smaller chunks so that they can be fed through the grinder without causing it to back up. Not only does doing so help keep your grinder running smoothly, but it also helps speed up the process by not causing you to stop intermittently.
The Grinding Process
Once you have the meat the you would like to turn into burger prepared, the next step of the process involves feeding it through the grinder. For this step you can use an actual meat grinder or you can use a KitchenAid with a meat grinder attachment. While the KitchenAid won’t work as well as an actual grinder, it will still help you get the job done.
The grinder is equipped with a top loading tray where you will place the meat that you intend to run through the grinder. When ready, load a handful of meat chunks onto this loading tray, turn the grinder on a low to medium speed, and then begin feeding the meat into the grinder with the feeding tool. A few things to keep in mind before you being this process: make sure you have a bowl or some sort of container to catch the meat as it comes out of the grinder, and be sure that you have the right blade attachment for making burger. There are a number of different blade attachments that can be used to grind, mince, and slice meat as it is fed through, so you want to make sure you’ve got the right one for making burger.
Press the meat down into the feeding tube until all of the meat has been fed through the grinder. Continue on by grabbing another handful of meat and placing it in the loading tray. Repeat the process of loading and feeding meat through the grinder until all of the meat has been processed.
Packing and Storing The Burger
The final step in the process of making burger with a grinder involves packing and storing the burger once it has been through the grinding process. One of the best things you can do to extend the shelf life of your burger is pack and seal it using a vacuum sealer. Doing so will remove air from the packaging and keep the burger in an air-tight environment where it is protected from freezer burn and harmful bacteria.
Thinking about getting yourself a meat grinder? Learn about popular meat grinders at http://infomedley.com/meat-grinder/.
Article Source: http://EzineArticles.com/?expert=Matt_LeClair
http://EzineArticles.com/?How-To-Make-Burger-With-A-Grinder&id=6728758
Burgers and Cedar Plank Sheets – GrateTV
Burgers cook up into a ball? Here’s a tip to level things out plus a new way to do planking.
GrateTV is a weekly BBQ and Grill show featuring user/viewer submitted GratePlate photos, secret ingredients andgrilling gadgets. Subscribe to the episodes free at http://GrateTV.com.
Burger Made Better Trick
 I saw one of those Food Network stars making burgers last week and I saw one tip you have to try. The chef claimed that when you make your own hamburger patties of ground beef for grilling you could use his trick to keep the thick – disk shaped – patty from turning into a fat – ball shaped – patty.
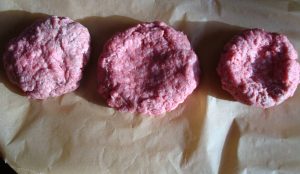
The advice is to make your patty with an indentation in the center (see photo). That way when the center of the beef patty swells or plumps when you grill it, the burger will revert back to a normal / flatter patty shape that will nicely accommodate a soft bun. Simple enough.

We tried the technique in the BBQ test kitchen and must say were surprised at how well the “indentations” on the test patties disappeared. We probably could have made the dent evendeeper (or on both sides). The control patty (“test” or “not concave” is on the left in the photos) indeed DID expand in the middle… But honestly not enough to bother me.
Another recommendation would be to control yourself and keep from pressing the burger down on the grill with the spatula. I don’t know why guys do this but I see it done all the time.
All-in-all the tip is worth while and is good general practice for the next time you’re pressing patties.
