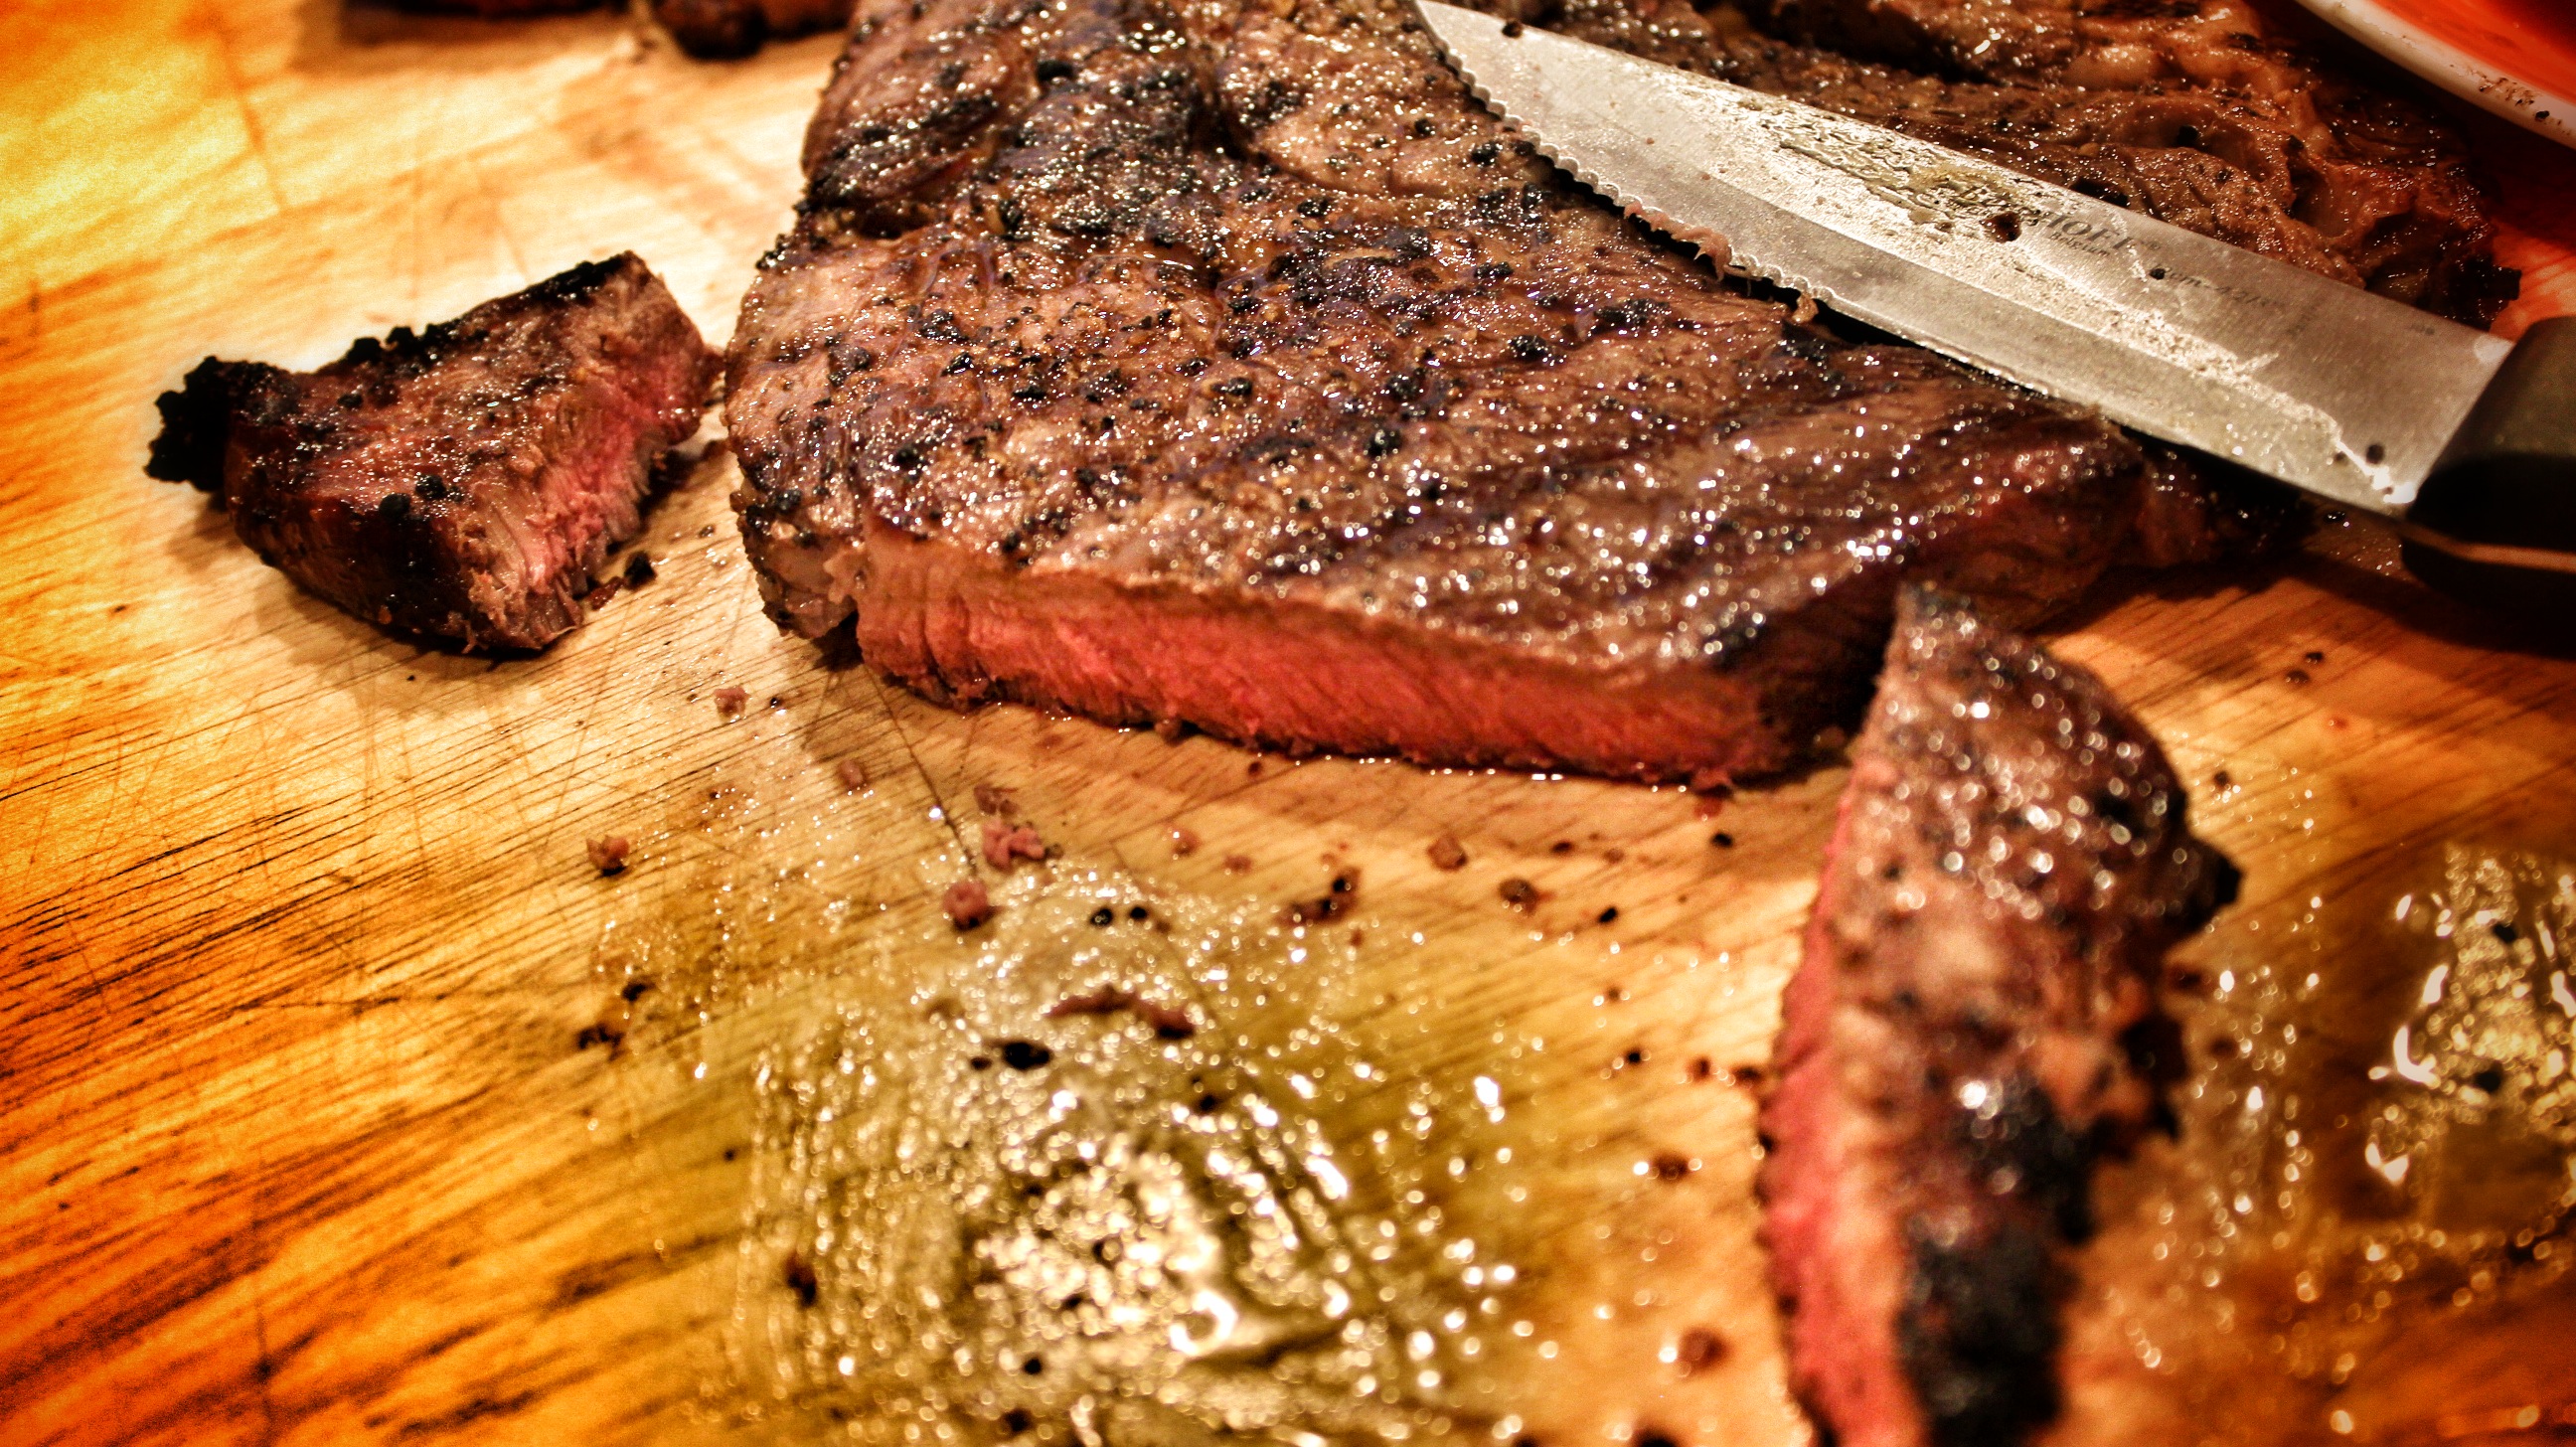
Why You Should Marinate Your Meat Before You Grill
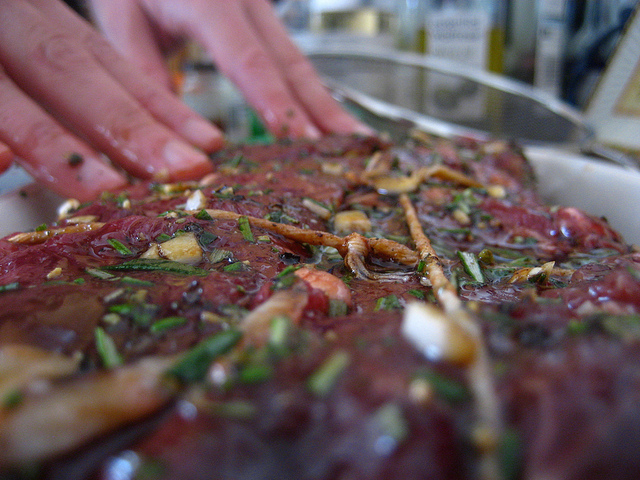
Photo:Flickr.com/adactio
The summer is in full swing which means you are likely putting your outdoor grills to work as you cook up some of your favorite grilled meats. We all know that when grilling meat, fish or poultry, it’s all about the marinade. You may think that the sole purpose of marinating your meat prior to cooking is to enhance the flavor, but there are actually health benefits associated with marinating your meat that go beyond satisfying your taste buds.
So here is what you do know. A marinade acts as a tenderizer and brings out the meat’s natural flavors before grilling. What you may not know is that marinating is one of the most effective ways to reduce the formation of cancer-causing compounds, known as heterocyclic amines (HCA’s). These compounds are produced when meat is cooked at high temperatures, like in grilling. Marinades can reduce the formation of these carcinogenic compounds by up to 99%. You can even boost this benefit by adding rosemary to your marinade. This herb contains the antioxidant carnosol, which has some specific anti-cancer properties.
Though it is unclear why marinating meat before grilling effectively eliminates HCA’s, it is believed that the marinade acts as a barrier between the meat and the direct flames. The cancer fighting power of marinades may also lie in the type of ingredients used. Vinegar, citrus juices, herbs, spices, olive oil and safflower oil are common marinade ingredients that all seem to contribute to the prevention of HCA formation. These acidic ingredients seem to slow the growth of harmful bacteria, like listeria, tenderizing the meat to make the protein easily digestible and moisten the meat, preventing it from becoming tough.
If you are someone who never uses marinades, now is the time you should start! Eating healthy does not mean your food has to be tasteless and bland, especially now that you know marinades do great things for your health. There are endless amounts of ingredients that can be used to create healthy and tasty marinades for any kind of meat, fish or poultry. Start to create the perfect marinade by first knowing the basic ingredients:
1 part acid (vinegar, citrus juice, yogurt)
1 part oil (olive, canola, safflower)
2 parts aromatics (herbs and spices)
Salt and sugar to taste (can substitute with low sodium soy sauce and/or honey)
This is a ratio you can always refer back to when creating your marinade. To keep the calorie count down and avoid having leftover marinade, only use about � cup of marinade for every pound of food, unless you have large pieces that may require a little more. Total immersion is not necessary, but the food should be turned occasionally, so that all surfaces will be in contact with the marinade long enough to benefit. Use non-metal containers or re-sealable plastic bags to hold the marinating food. You may also want to marinate your vegetables to add extra flavor. If this is the case, always make sure you keep the vegetable marinade separate from the meat marinade, to avoid cross contamination of bacteria. Also keep in mind that if you are making skewers, keep vegetables on their own skewer, since meat typically requires longer cooking times.
There has never been a more delicious way to prevent cancerous compounds than marinating. The sky’s the limit when creating a tasty marinade. So, get creative! Make use of a variety of herbs and spices to add natural flavor to your marinade. Yogurt in a marinade is thought to tenderize meats and help balance out sweet and spicy flavors in marinades. While it’s best to use herbs and spices, if you are going to add salt to your marinade, don’t add it until just before you cook the meat as the salt will draw out the moisture creating tough, dry meat.
Bonnie R. Giller is a registered and certified dietitian nutritionist and certified intuitive eating counselor who helps chronic dieters break free of the pain of dieting and get the healthy body they love.
Bonnie utilizes the principles of intuitive eating in her work with her clients, which is eating based on internal signals of hunger and satiety versus situations or emotions. The result is they lose weight, keep it off without dieting and live a healthy life of guilt-free eating.
Download Bonnie’s free e-book “5 Steps to a Body You Love Without Dieting” at http://www.DietFreeZone.com
For more information on Bonnie’s programs, books, lectures and presentations, visit http://www.brghealth.com
Article Source: http://EzineArticles.com/?expert=Bonnie_R_Giller
http://EzineArticles.com/?Why-You-Should-Marinate-Your-Meat-Before-You-Grill&id=8653831