• Skip to primary navigation
  • Skip to main content
  • Skip to primary sidebar
  • Skip to footer
  • Big Book of BBQ Tricks
  • Resources
  • Free E-CookBook / Newsletter
  • Smoking Meat 101 Book
  • BBQ Blueprint Book
  • Electric Smoker Cookbook
  • Wood Pellet Grill Smoker Book
  • Temperature Guide
    • Seafood
    • Pork
    • Poltry
    • Beef
  • About Me
  • Shop
  • Sitemap

Barbecue Tricks

BBQ Tips and Tricks

Recipes

December 12, 2012 Featured

12 Sauces Of Christmas

Sure the Holidays are really about Family and Giving and mainly God.  But at here at BarbecueTricks.com we thought we’d celebrate by giving you a gift of one of our favorite things.  Barbecue sauce.  We can’t get enough.  And apparently most of America has an insatiable appetite for barbecue sauce.  The supermarket store shelves are stocked with dozens upon dozens of different bottled varieties.

So instead of just one gift you’ll get twelve this Holiday season… Twelve sauce recipes.  One per day until Christmas Eve.  That’s just how we roll.

Here’s the FULL LIST – Enjoy:

Special Sauce Knockoff

Day 1 – South Carolina Mustard Sauce

blue sauce strain

Day 2 – Western Carolina Vinegar Sauce

Day 3 – Coca-Cola BBQ Sauce

Day 4 – Blue BBQ Sauce

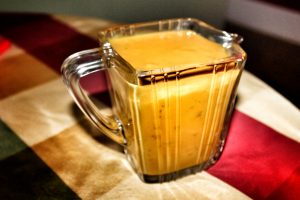
Day 5 – Alabama White Sauce

Day 6 – Spicy Mustard BBQ Sauce

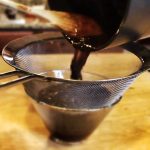
Day 7 – Texas Coffee Mop

Day 8 – Danny’s Glaze

Danny Gaulden's Glaze

Day 9 – Kansas City Sweet and Smokey Sauce

Day 10 – Chinese BBQ Sauce – sweet and sticky!

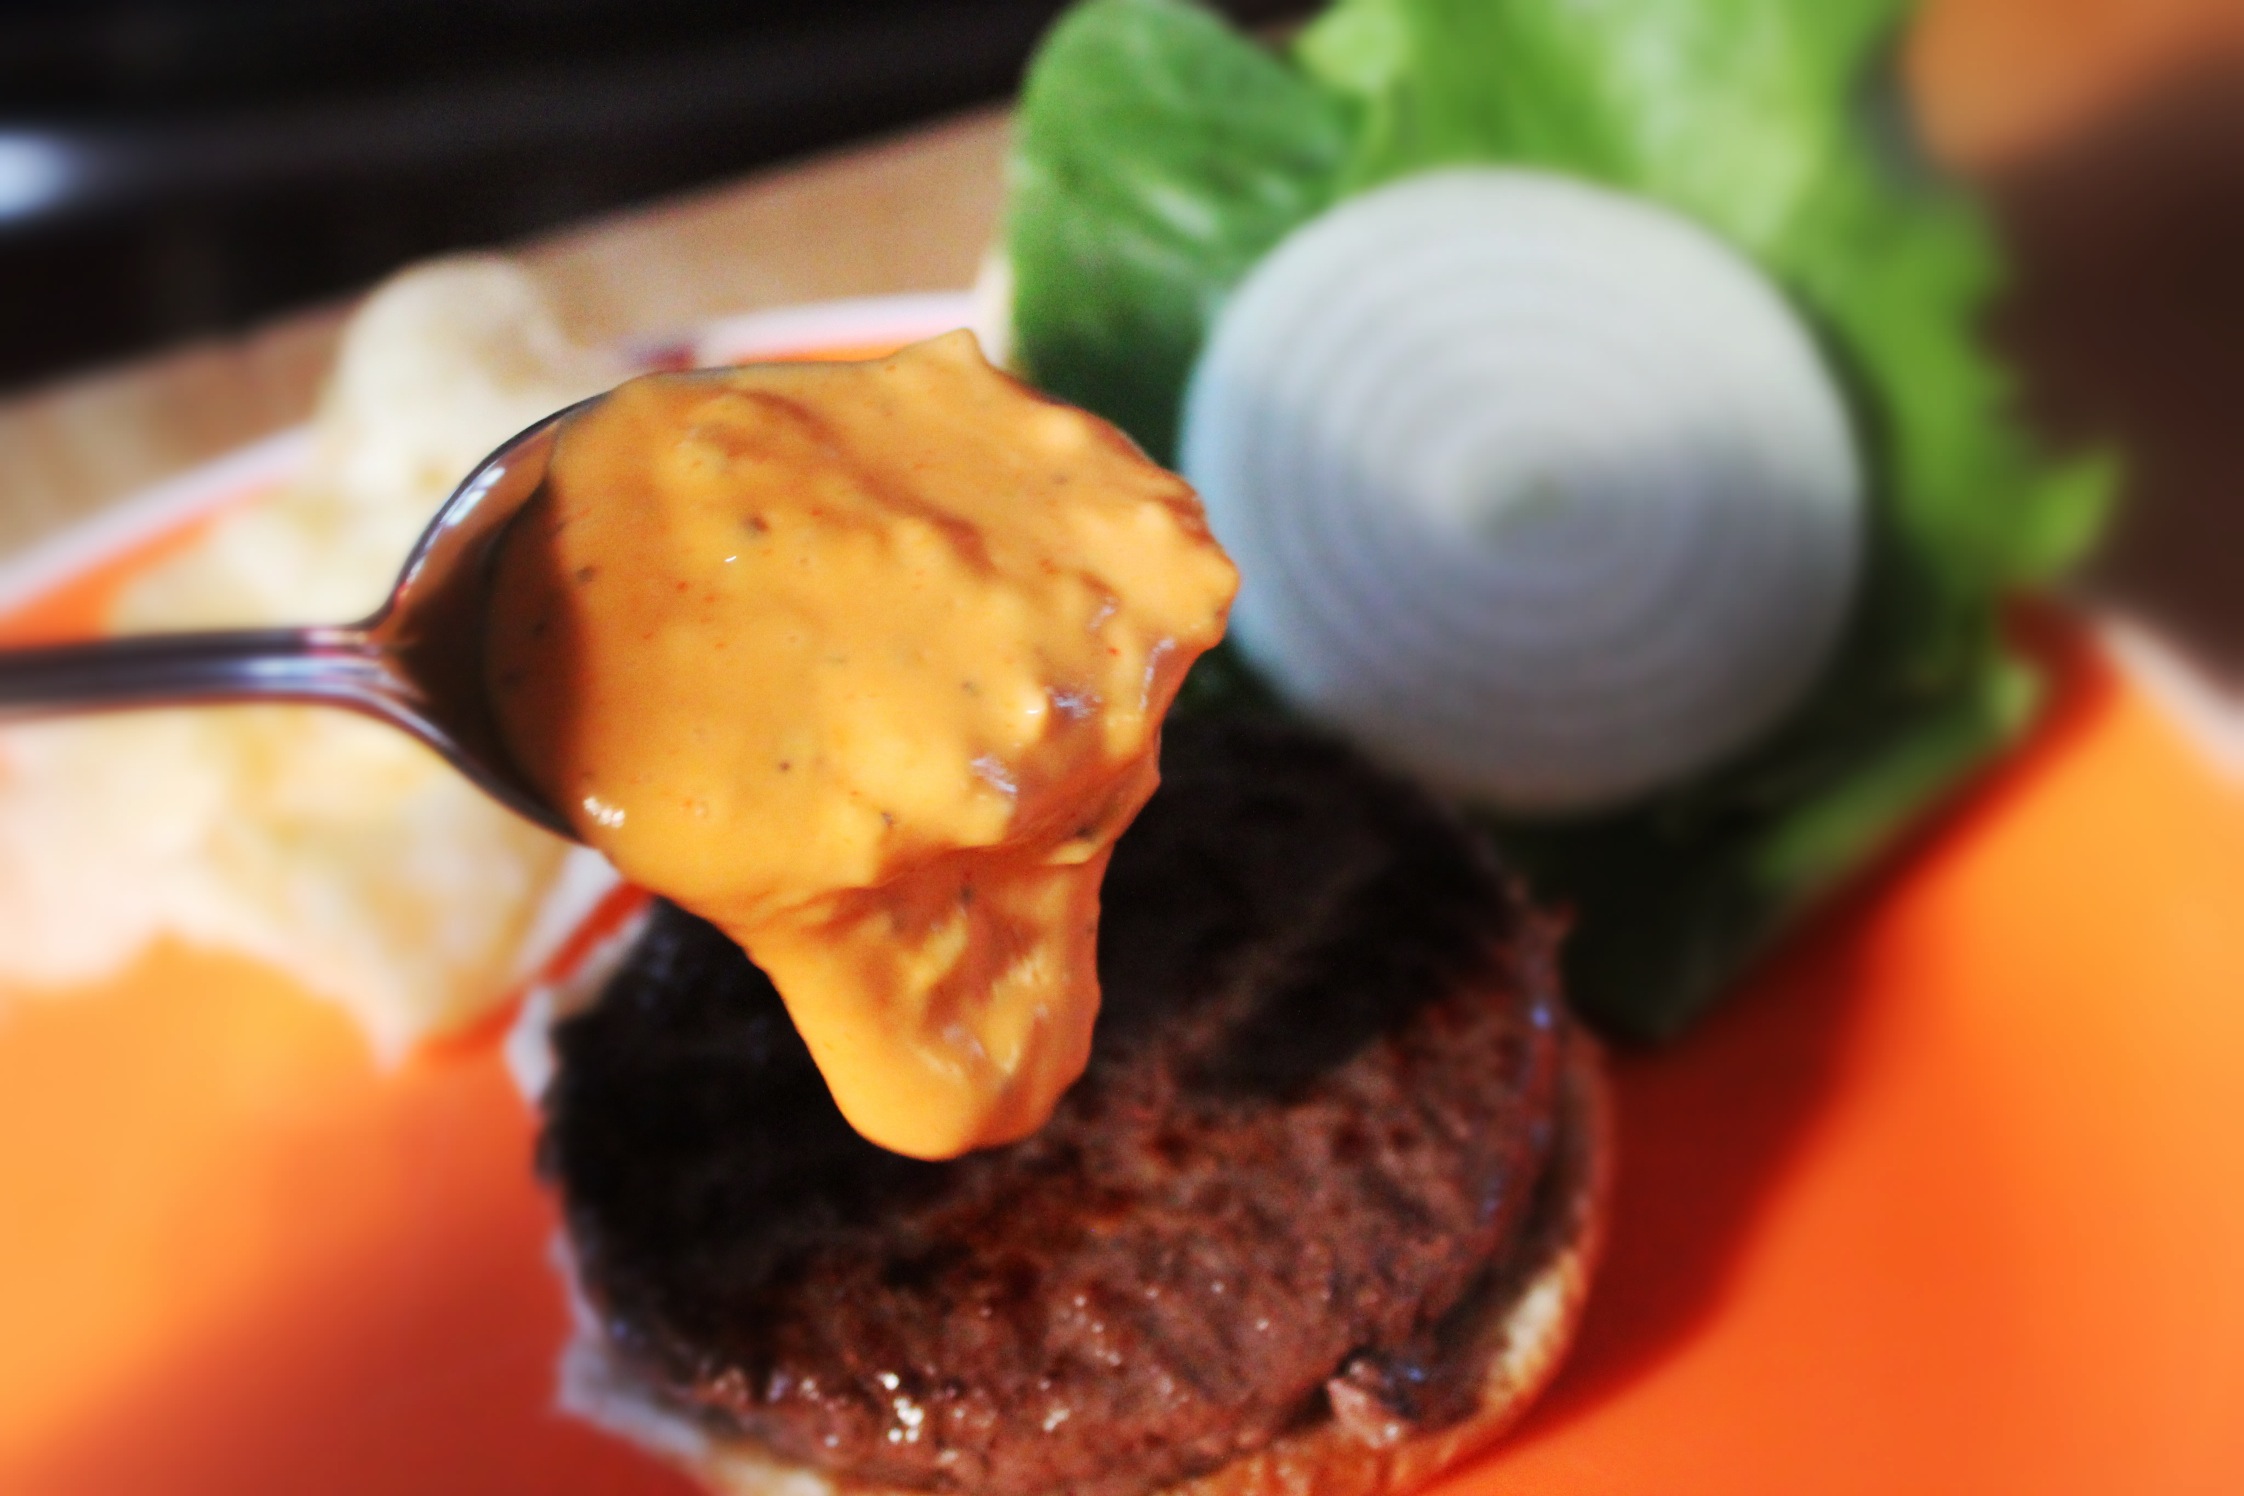
Day 11 – McDonald’s Special Sauce

Day 12 – Best For Last Almost Award Winning Sauce

mustard BBQ Sauce

Sign up for our free BBQ Tricks Newsletter to get future fun BBQ updates and recipes in your email!

Free Here

December 12, 2012 Featured

South Carolina Style Mustard BBQ Sauce Recipe

carolina flagThe Palmetto state is home to a different kind of Barbecue sauce.  It’s Northern brethren in Western North Carolina have staked their claim in a vinegary thin and spicy sauce that cuts the fattiness of whole hog pulled pork.  But South Carolinian’s like to keep their options open and are in fact one of the only places you can find a different – mustard based style of barbecue sauce.

The origins of the mustard infusion is said to have been passed down from German influences from settlers on the Carolina coast.  In the mid 1700 the British Colony of South Carolina brought in thousands of  families to the area to settle in and make the state their home.  They brought with them a traditional German fair in food with the common use of mustard.  To this day most of the biggest names in South Carolina are of German decent including the Bessinger family who still wave the mustard flag in their BBQ joints in the Columbia and Charleston area.

Although the thought of a mustard sauce is foreign to many.  Barbecue fans tend to like this tangy take on a thick sweet sauce. There are hundreds of variations that can be created with different variety of mustard but tradition leans to a simple affordable yellow blend that we’ve adapted below.  This mainstream blend of mustard and vinegar makes for another tangy way to cut through fatty pulled pork at your next pig pickin’.

Print
South Carolina Style Mustard BBQ Sauce Recipe

Prep Time: 5 minutes

Cook Time: 10 minutes

Total Time: 15 minutes

Yield: One Pint

South Carolina Style Mustard BBQ Sauce Recipe

Serve this sauce warm on the side with pulled pork or mix above amount with one shredded/pulled boston butt.

Ingredients

  • 1 Small White Onion, Minced
  • 2 Tablespoons Butter
  • 1 Clove of Garlic, Minced
  • 1 Cup Yellow Mustard
  • 3/4 Cup Brown Sugar
  • 3/4 Cup Pickle Juice or Cider Vinegar
  • 1 Teaspoon Kosher Salt
  • 1 Teaspoon Fresh Ground Black Pepper
  • Hot Sauce To Taste

Instructions

  1. Saute garlic and onion until translucent. Add mustard and remaining ingredients and simmer for ten minutes until thickened. Strain out onion pulp (optional).
3.1
More Recipes at BarbecueTricks.com


mustard sauce
Print

South Carolina Mustard Sauce

Author Bill West

Also known as “Carolina Gold” this tangy and sweet sauce uses basic yellow mustard as the key ingredient. Serve this sauce warm, on the side, with pulled pork or mix below amount directly with one shredded/pulled Boston butt.


Ingredients

1 small white onion, minced Small 2 Tbsp butter1 clove of garlic, minced1 cup yellow mustard 3/4 cup brown sugar3/4 cup pickle juice or cider vinegar 1 tsp kosher salt1 tsp fresh ground black pepperHot sauce to taste

Instructions

Saute’’ garlic and onion until translucent. Add mustard and remaining ingredients and simmer for ten minutes until thickened. Strain out onion pulp (optional).

November 28, 2012 Featured

Beef Jerky How To Low and Slow

beef jerkey

Over the last decade the popularity of beef jerky has exploded. You see it in every convenience store and gas station. It comes in many flavors from peppered and hot to sweet and smokey. The major problem is that it is exorbitantly expensive. A small pouch that is listed as three or four servings can set you back around seven dollars or more. Just too expensive for an impulse purchase snack with one major ingredient!

The good news is that making beef jerky at home is affordable and easy. You don’t need fancy equipment. However a simple food dehydrator is handy.

It’s important to be aware of general raw meat safety and food handling dangers especially when handling chicken and fish. Check with the USDA for guidance and take comfort in the knowledge that drying beef is much safer than other meats.

To keep things affordable start with a basic cut of beef that is easily attainable at the grocery store. Brisket is delicious when dried as jerky however it is usually packaged and sold whole (too big) and with a large fat cap attached. You will not want to pay for fat you will later discard.

Instead, opt for a lean large cut like Flank or London Broil. Trim off any extra fat. Slice it into strips as thin as you are able against the grain. Pencil thin or quarter inch thick will do. Partial freezing and a sharp knife will help the task.You may also have to cut at a forty-five degree angle to go against the grain on the London Broil (but your jaw will thank you later). The cut will allow for a more tender bite. Want to slow yourself down? Go with the grain (not a bad diet tip).

Lean 90/10 ground beef also works well and creates more of a “slim beef stick” jerky. Ground beef is usually cheaper and the product is also easier to chew. Use a jerky gun (like a cookie press for ground meat) to craft the ground meat into uniform strips or sticks.

To ensure a longer shelf life you’ll want to use a curing salt like Tender Quick ( 1 tablespoon per pound of beef). Then add your favorite dry spices like black pepper, cayenne and garlic. For a wet marinade on steak strips you can rub the cure into the surface of the meat and then soak in marinade. You can find dozens of fun recipes online. Let the meat marinate for around three hours. Longer for stronger flavor.

Food dehydrators are an easy solution for doing the rest. Just place your meat and set on the machines highest temperature for four to fourteen hours or until dry and leathery. A flip and a light brush with an unflavored oil can add a nice sheen to exceptionally dry slices of meat. Conversely use a paper towel to blot any collecting oil on the surface of your jerky.

If you are new to making jerky you can also use your home oven. It’s easy to space out your strips of wet meat directly on the oven grate with a drip pan directly underneath. A cake rack over a foil lined cookie sheet also works just as effectively.

Preheat oven to 160 degrees (officially the USDA would like the meat to get to 160 to kill any potential bacteria) and allow jerky to dry for 30 minutes and then lower the temperature to 140 degrees for three hours or until totally dry. Some cooks will crack open the oven an inch or two to keep the oven from getting too hot and to encourage airflow.

Once dried allow the jerky to totally cool before storing in air tight containers (this will also avoid any condensation inside containers.)

The great thing about jerky is that you can create unlimited flavors by using different rubs and marinades.

November 15, 2012 Featured

Smoke Fried or SmoFried Turkey Recipe

I first heard of a SMOKE fried turkey about a year ago when Jack Waiboer mentioned it in discussions on frying turkey.   It went something like “You wanna try something REALLY good ya gotta smoke fry a turkey.”

I haven’t been able  to get it out of my mind so I set up shop for us to demo the making of what Jack calls a “SMO-Fried” turkey for http://GrateTV.com.  I now know it’s as good as it sounds and – although it may be double the work – it’s not really very difficult.

It’s worth another reminder – don’t burn down the house… ask Jack about his old garage door.

Here’s the Deal:

Smo-Fried turkey is a natural progression combining 2 of the most popular ways to cook a turkey. It?s really quite simple, smoke or grill the bird then drop it in hot grease to finish off the cook and crisp up the skin. Please be very careful. Hot grease, liquids, and fire mixed together can spell disaster if you don?t put safety as your top priority! Trust us we call it the garage door killer from personal experience.

Smo-Fried Turkey

Ingredients:
10 bs. Turkey, completely thawed.
3 Gal Oil

Injection:
Equal parts butter, hot sauce (we used Texas Pete wing sauce), white grape juice,
Rub: Tony Chachere’s,

Directions:

Inject turkey breast from inside cavity, legs and thighs from outside. Rub under skin, on top of skin, and inside of cavity.
Smoke over hardwood coals and chunks at a settled temperature for at least 2 hours.

Finish turkey in a 325- 350 degree, preheated turkey frying apparatus, until done. 170 degrees in deep thigh. Takes about 30 mins. Let rest, carve, then serve.https://barbecuetricks.com/wp-content/uploads/2012/11/turkeya.jpg

Print
Smoke Fried or SmoFried Turkey Recipe

Smoke Fried or SmoFried Turkey Recipe

Ingredients

  • 10 bs. Turkey, completely thawed.
  • 23 Gal Oil
  • Injection:
  • Equal parts butter, hot sauce (we used Texas Pete wing sauce), white grape juice,
  • Rub: Tony Chachere's,

Instructions

  1. Directions:
  2. Inject turkey breast from inside cavity, legs and thighs from outside.
  3. Add Rub under skin, on top of skin, and inside of cavity.
  4. Smoke over hardwood coals and chunks at a settled temperature for at least 2 hours.
  5. Finish turkey in a 325- 350 degree, preheated turkey frying apparatus, until done.
  6. Takes about 30 mins.
  7. Check temp. for 170 degrees in deep thigh.
  8. Let rest, carve, then serve.
3.1
More Recipes at BarbecueTricks.com

January 10, 2012 Featured

2 Ways To Cook Filet Mignon

beef filet

Photo: Flickr/vincelaconte

By Paul Yates

Filet Mignon (or fillet steak as it is called in English) is the most tender part of the beef animal and so requires some attention when it comes to cooking otherwise you can easily end up with a dry piece of meat and / or something that isn’t as tender as it should be.

It’s tender because the filet mignon is from the beef tenderloin, a little used muscle at the rear of the rib cage and it’s the fact that it is never put under great exertion that it remains so tender. For the same reason it has extremely little fat (if any at all) marbled into it and this also contributes to the tenderness. This particular cut of meat is also renowned for its price (and in my opinion) its lack of flavor.

I accept that this latter point is open to debate but whatever your opinion I do believe that it makes the cooking process all the more important to ensure that the texture is maintained and that the flavor is delivered to the maximum. In addition, it must not dry out.

Many people like to grill their steak and I am no exception so I’m going to start with this as method no.1, yes it’s quick and easy to do but it’s also easy to get wrong. To get the maximum flavor it is so important that your grill plates are super hot because by doing this your steak will quickly crisp on the outside (adding flavor) and seal the juices in so keeping your steak moist. Flip it once and only once, don’t press down on it because this will squeeze out the juices and season it after the cooking and not before. If seasoned (salted) before it will toughen the steak and also the salt will protect the steak from the heat – not what we want. Two minutes for each side of the steak will be perfect.

Method number two is also an extremely popular grilled filet mignon recipe and that is to cook it wrapped in bacon but the great challenge with doing this is get the bacon crispy on the outside without overcooking the steak and drying out the meat.

Essentially you spit roast the whole tenderloin after having wrapped it in streaky bacon (secured with cocktail sticks). The spit roasting over high heat takes about 10 minutes to crisp up the bacon and gently cook the outer area of the tenderloin and then the meat is removed from the spit rod and allowed to cool.

Once cool, the cocktail sticks are removed from the bacon (the bacon stays in situ because it has crisped up nicely) and the part cooked tenderloin is sliced thickly to produce the filet mignon steaks already wrapped in crispy bacon.

It’s then simply a matter of following the recipe above in terms of cooking hot and fast giving each side of the steak about 2 minutes and no more. Season and serve.

Paul Yates is a keen barbecue enthusiast and has written many gas grill recipes fillet steak including this grilled filet mignon recipe with bearnaise sauce.

Article Source: http://EzineArticles.com/?expert=Paul_Yates
http://EzineArticles.com/?2-Ways-To-Cook-Filet-Mignon&id=6794652


January 9, 2012 Featured

Philly Steak and Potatoes

As part of the Foodbuzz Tastemaker Program, I received a sample of Simply Potatoes and was asked to create a recipe to share. A new twist on the old “steak and potatoes”, my Philly Steak & Potatoes dish is a hearty winner for the whole family! Try it and let me know what you think. Seasoned just right, the potato crust gives the dish that flair to take it over the top.

Philly Steak & Potatoes

20 oz pkgSimply Potatoes Shredded Hash Browns

beef

Photo: Flickr/tomspix


¼ cup enriched flour
1 tsp salt
1 tsp black pepper
1 tsp cayenne pepper
1 Tbsp minced onion
1 egg
3 Tbsp Olive oil, divided
1 medium onion, chopped
1 medium green pepper, chopped
8 oz sliced sandwich roast beef
3 Tbsp Worcestershire sauce
1 tsp garlic powder
½ cup prepared Alfredo sauce
8 oz Provolone cheese

Grease a deep dish pie plate and set aside. Mix potatoes, flour, salt, black pepper, cayenne pepper, minced onion and egg until well blended. Press mixture on the bottom and up the sides of the dish. Brush with 2 Tbsp Olive oil and bake at 400° for 25 minutes until lightly browned.

Sauté onion and green pepper in 1 Tbsp Olive oil until blended. Stir in meat, Worcestershire sauce and garlic powder, and cook about 1-2 minutes. Spread Alfredo sauce over potato crust, and top with half the Provolone cheese. Add the beef and veggie mixture, and top with remaining Provolone cheese. Bake at 400° for 10-12 minutes until bubbly.

Serve hot and enjoy!


January 7, 2012 Cook

Beer In The Rear Turkey 25.4

Resting Turkey

Beer In The Rear Turkey

Turkeyon a grill or smoker can be tricky.    It’s easy to get rubbery skin (and that can actually make some people mad).  There’s a lot of expectation on a Thanksgiving dinner especially with skin lovers.

Beer in the Rear Turkey is almost fool proof.  It’s quick and give you a crisp golden skin with a hint of smoke.

The first time I heard about the beer can trick was around 1999 when my morning radio hosts became enamored with a recipe they found called Beer Butt Chicken.  They thought it was so great (probably just liked that the word Butt was in a recipe) they wanted to bring a grill to the radio station and demo it in the parking lot.   I’ve grown to like it too.  So it’s fun to be able to super size the recipe.

This time the poor thing gets violated with not just a regular beer can but you use the big “Foster’s Lager” sized can of beer. You can find it in most grocery stores.   Reserve half and enjoy as you prep.  You’ve earned it. You’re going to want to punch some holes in the top of the can and put some spice rub in the can.  And then you get to the bird…where you clean off the bird really well and make sure you get all the different things out of the inside of the cavity of the bird.  They hide it in different areas… the neck, the gizzards…

Beer Butt Turkey

Caution: It's harder to REMOVE the can...

With the bbq spice rub inside the can… the steam and the beer flavoring will actually steam through the turkey and infuse it with a really super flavor keeping the bird moist from the inside out. You’re not going to get much from the outside-in because the skin of a turkey is kind of like a wet suit.    Rub the spice under the skin (I call this getting to second base with the Turkey).  The skin is really pretty resilient and thick so you’re not going to damage anything.

Then you just insert the can upright inside the bird.     Carefully lower the turkey on top of the can making kind of a tripod of sorts.    If you need a little extra room on the grill you may want to remove the bottom grill grate and put the tripod on a small roasting pan actually on the floor of the grill directly on the burners of the gas grill.  You won’t  actually turn the burners on under the bird.   Set up for indirect grilling heat.  Temperature is going to be 325 to 375 (if you have a temperature gage on  your gas grill – use it this time).    You can usually get this temp/indirect by having one or two gas burners on and the other two off.

To get a lick of smoke use some wood chips in a smoker box on he lit burner or using a tin foil pouch.  Making a smoker pouch really easy.  Then and then just let it cook.

After about an hour – open it up turn the bird around let it cook for another hour or until it gets golden brown on both sides.   Use a meat thermometer in the thickest part of the thigh and cook until you hit at least 160 degrees.

You’ll  want to use gloves and be super careful removing that can.   The liquid is dangerously hot and the can is greasy! Let rest before carving.


Beer In The RearTurkey

In the video demo we used an 11.75 lbs turkeyand cooked for two and a half hours (150 minutes). Approximately 345 degrees Indirect heat.

“Discard” half of the beer.    Add 2 tablespoons Rub into remaining liquid in can.   Using a “churchkey” can opener add additional holes to top of can.  Insert upright under and inside turkey using legs as tripod support.  Grill over indirect heat 2 to 3 hours until temperature measures 160 degrees in the thickest part of the thigh.  Let rest  before carving serving.

Ingredients:

1 wholeTurkey(10 to 18 lbs.)

6 tablespoons of BBQ Rub or Greek Seasoning

1 can Fosters Lager (or 25.4 oz other)

August 30, 2011 Featured

Hummus and Grits Bruschetta

Hummus and Grits Bruchetta


What do you get when you cross a Middle Eastern dip with a Southern staple?    This is what the Barbecue Tricks kitchen came up with… a Hummus and Grits Bruschetta.

Recently, we were selected to participate in a Foodbuzz Tastemaker program with Sabra.   Having only recently discovered that I LOVE hummus, and needing a new appetizer for cookouts, this was a challenge I sank my teeth into.

The following is a delicious way to serve Sabra Hummus at a cocktail party.

I make the grits squares in advance and pull out and top with the hummus and veggies to serve. EASY and delicious!

The little squares were a hit after a recent GrateTV taping with Jack and Mary Waiboer.

Hummus and Grits Bruschetta

3 (14 oz) cans chicken broth
1 cup water
2 cups quick-cooking grits

cutting grits

Slicing Chilled Grits

1 cup grated Parmesan cheese
1 Tbsp garlic powder
1 tsp salt
1 container Sabra Supremely Spicy Hummus
2 large tomatoes, chopped
1 cucumber, chopped
2 Tbsp Olive oil
Salt & pepper to taste
½ cup chopped fresh cilantro

Yield:  Approx.70 pieces


Jack and Mary Waiboer, MJ Triebold enjoy

To prepare grits, bring broth and water to a boil in a large saucepan.  Stir in grits and return to a boil.  Cover, reduce heat and simmer 5-7 minutes or until thickened – stirring occasionally.  Stir in Parmesan cheese, garlic powder and salt, and remove from heat. Spray a 13x9x2 dish and a 9×9 dish with non-stick cooking spray. Pour grits into prepared pans. Spread evenly and shake to level out. Cover and chill for at least 2 hours. Invert grits onto a cutting surface and cut into 1-inch squares.  Place squares onto a greased cookie sheet.  Bake 15 minutes on 400°.  Turn grits squares over and bake another 45 minutes.  Squares will be crispy and brown. After they cool, place in an airtight container to store in fridge or freezer until ready to serve.

To prepare Bruschetta appetizers, stir together tomato, cucumber, olive oil, salt and

pepper, and set aside. Allow grits squares to achieve room temperature. Spread each square with Sabra Supremely Spicy Hummus. Top with chopped mixture, sprinkle with cilantro and serve. Great party food – yum!  Try it and let me know what you think in the comments below.

April 26, 2011 Recipes

BBQ Tortellini

When I make pulled pork barbecue, whether cooked low and slow on the smoker, or by the crock pot method (below), I usually make enough so I can portion it out and freeze it to use for other quick dinner recipes later. I was inspired on one such occasion to create this non-traditional pasta dish because who says tortellini should only be served with Marinara or Alfredo sauce? I love spinach and cheese tortellini, and I love good barbecue, so let’s put them together. What follows is now a favorite with our family and friends. BBQ Tortellini is an excellent dish for leftover barbecue. Pork can be cooked and pulled ahead of time and frozen, to be thawed and served with the tortellini, sauce and vegetables at a later date. Here I give you a no-fault way to cook crock pot pulled pork, but there are of course many ways to cook the barbecue. If you have your barbecue already, skip down to “To Prepare Tortellini and Sauce”…

Barbecue Tortellini
Serves 6-8

Ingredients
Boston Butt or Pork Shoulder
3 tsp salt, divided
2 tsp black pepper, divided
4 tsp garlic powder, divided
2 tsp chili powder
1 (12 oz) can beer
1 medium onion, coarsely chopped
1 green pepper, chopped
1 Tbsp olive oil
1 (12 oz) boxes Barilla Cheese & Spinach Tortellini
2 cups ketchup
1 cup water
1/2 cup apple cider vinegar
5 Tbsp white sugar
5 Tbsp brown sugar
1/2 Tbsp ground mustard
1 Tbsp Worcester sauce
1 Tbsp lemon juice
1 Tbsp molasses
1 Tbsp hot sauce
1 tsp Cayenne pepper (optional)

Directions for Crock Pot Barbecue

Mix:2 tsp salt, 1 tsp black pepper, 2 tsp garlic powder and 2 tsp chili powder. Spread rub generously all over meat. Spray inside of crock pot with non-stick spray, and pour beer in bottom of crock pot. Set meat in, cover and cook on low for 9 hours. If necessary, open once after about 5-6 hours and drain some liquid. Remove meat and drain all liquid after 9 hours. Put meat on a baking pan and pull apart into chunks with two forks, removing bones and fat. At this point, BBQ can be portioned out and frozen for later use if need be.

To Prepare Tortellini and Sauce

Saute’: Green pepper, onion, remaining garlic powder and olive oil until just transparent. Do not overcook. Set aside.

Cook: Barilla Cheese & Spinach Tortellini, according to package directions and drain.

Stir: Ketchup, water, vinegar, sugars, onion powder, mustard, Worcester sauce, lemon juice, molasses, hot sauce, Cayenne pepper (if adding) and remaining salt and black pepper in a medium saucepan. Bring to a boil and reduce heat. Add 3 heaping cups of pulled pork and the saute’ed vegetables to the sauce and heat through about 3-4 minutes. Serve over tortellini and enjoy!


March 30, 2011 Recipes

Cheesy Ranch Potatoes

For a great side at your next barbecue, try Cheesy Ranch Potatoes. The secret is time, otherwise they are simple and everyone loves them. In the age of the microwave, these are best cooked in the oven for an hour, but you can really use any type of potatoes and onions.

Cheesy Ranch Potatoes
4 lbs russet potatoes, but into cubes
1 large onion, coarsely chopped
2 tsp chili powder
2 tsp garlic powder
1 tsp salt
1/2 tsp black pepper
1 stick of butter, sliced
8 oz shredded Monterey Jack-Colby cheese blend
1 small bottle prepared buttermilk ranch dressing
6 slices bacon, cooked and crumbled

Preheat oven to 400 degrees. Lightly grease a 9×13 baking dish. Put potatoes and onions in dish. Season with chili powder, garlic powder, salt and black pepper. Evenly distribute pats of butter amongst the potatoes and onions. Cover dish tightly with aluminum foil and bake for 1 hour.

Remove foil and add cheese, bacon and ranch dressing. Stir to coat. Cook uncovered about 10-15 minutes until cheese is melted and bubbly. Serve hot.

  • « Go to Previous Page
  • Page 1
  • Interim pages omitted …
  • Page 4
  • Page 5
  • Page 6
  • Page 7
  • Page 8
  • Interim pages omitted …
  • Page 10
  • Go to Next Page »

Primary Sidebar

Welcome To BBQTricks!

Hey Y'all... Thanks for stopping by. I'm Bill West. I blog about BBQ and occasionally country music. When it comes to BBQ I try to find solid time saving tips and tricks to make the grilling life a bit easier. It's life hacking for the backyard cooker. Read More…

Your Gateway to Barbecue Information

This site is a member of The Smoke Ring BBQ Webring A linked list of BBQ websites

Next BBQ Site - Next 5 BBQ Sites - Prev BBQ Site - Random BBQ Site

Join the BBQ ring or browse a complete list of The Smoke Ring BBQ Webring member's BBQ sites

If you discover problems with any of The Smoke Ring BBQ Webring sites, please notify the Ringmaster

fb

Footer

DISCLOSURE:

Posts on this site may contain affiliate links. If you purchase something via one of these links you won’t pay more but the site operator gets a small commission. Or as I like to call it: “beer money.”

Copyright © 2025 — Barbecue Tricks • All rights reserved.